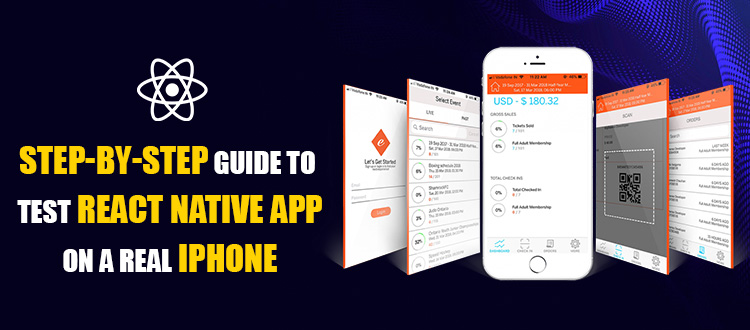
Have you created a new app for the iOS platform with React Native? Then, it is time that you test it thoroughly before releasing it in the market for ensuring its top-class quality. Xcode offers the best simulator for testing React Native applications. However, if a developer wants to test his app using a real iPhone, he needs to follow the steps given below.
Many people skip the process of testing an application on a real device. They believe a simulator can give the best output and help in creating a flawless application. But the reality is different, and the reasons below explain it correctly.
Reasons Stating the Importance of Testing an App on a Real Device
- A simulator helps test various factors of an application, but it lacks the features specific to a device. For example, if an application is tested on a real device, then it can access its camera, GPS, phone calls, and other features to access control in cloud computing environment.
- iPhones are different from Mac computers as their processors are not the same. Applications created with a lot of graphics use a massive amount of CPU. Therefore, a simulator will enable it to run seamlessly if the Mac has useful features. However, the scenario will be different on a real iPhone, and the app might be inefficient for running on it
- A real device will allow a developer to check some crucial factors related to an application, which are a far cry in a simulator. For instance, the performance of the app if the memory is deficient in the device or it is facing internet connectivity issues. A developer can also inspect various other factors in an application while testing it on a real device that he cannot on a simulator
These are fundamental reasons that compel app developers to test their innovations on a real iPhone over a simulator. Below is the process by which you can test a React Native application on an iPhone.
1st Step – Plugging in the iPhone to Mac
At first, you will have to plug in the real iPhone to a Mac computer and open Xcode on it. A play and a stop button will appear on the screen, beside which you will find your device’s name. Then you will have to select your iPhone by identifying its name on the screen.
Before you complete this step, you will have to enroll in Apple Developer Program. If you do not enroll in this program, the device will show the “Failed to code sign” error. The Apple Developer Program will help a developer publish his app in the Apple App Store. Enrolling in this program is an easy process, and it will hardly take much time for an individual.
Another major problem that arises while plugging in the iPhone to Mac is the failure of mounting the disk image. If the present Xcode version does not support the version of the iOS, then a disk image mounting error occurs. You will have to update the current version of Xcode from the App Store to eliminate this error.
Once you have enrolled in the Apple Developer Program, you can sign in successfully. Therefore, the first step for testing the app in a real iPhone will be completed.
2nd Step – Entering the Correct Deployment Target
The deployment target is the earliest iOS version on which the target of the developer will rest. You will have to set the deployment target accurately to test an application on an iPhone. For this, you will have to open the project setup in Xcode and enter the correct target. The deployment target should be equal to or less than the version of iOS that is currently set in the real device.
For example, your device is operating on iOS version 7.0, and you chose the deployment target as 8.0. The device will not support your application until you change the deployment target to 7.0 or below this value. On the other hand, if your device runs on iOS version 8.0 and you have set the deployment target as 7.0. In this case, the app you have developed will work correctly, and thus, you can test it effortlessly.
3rd Step – Resolving the Error of Connection Failure to the Development Server
The first two steps mentioned above will help you to install the app on your device. Therefore, the launch screen or the home screen will appear on the screen of the device. However, this does not indicate the successful configuration of the app on your phone. App Developers often face a standard error on their iPhone while installing a new app, and it is called ‘Could not connect to development server’ error.
This is a crucial error that needs immediate attention, and you can rectify it by opening the AppDelegate.m file in the iOS folder of the project. Then you will have to enter the Mac IP address of your device in place of the term ‘localhost’.
Are you facing difficulty in finding out the IP address of your Mac device? You can type ‘ifconfig’ in the terminal and then choose an ‘inet’ value below en0. Then you will have to save the IP address and then rerun the app. Therefore, the problem will be resolved, and you will get a step closer to complete the app-testing process.
4th Step – Mitigate Issues of Connecting to API Hosted on Local Server
Following the third step will help you install your app on a real device and access it properly. You can also navigate through all the pages in the app using the screen of the application. The app will initiate an API call to the local development server of the device. If the local server does not commence accurately, a significant issue can be created with the running of the application.
Your application should have access to the server through its private IP address. You should enter the IP address, which will connect the application to the local network. This will enable the iPhone to communicate with the server of your application seamlessly.
Today, numerous developers prefer building applications using React Native, as it has several useful features. Read the details about hybrid app development-ionic vs. react native here. You can develop a successful app by availing of these essential features that are production-ready. But before launching the app in the market, it is necessary to test its usability and reliability.
The steps mentioned above will help you test your React Native application on a real iPhone. You may encounter specific issues in the testing process, and this guide will help you overcome them efficiently. Several errors and their fixes are given here that will come to your great help.
Author Bio:
My name is Hemendra Singh. I am Managing Director and co-founder of The NineHertz, a React Native Development Company. I am having a keen interest in the latest trends and technologies that are emerging in different domains.You Can Hire React Developer from to design a spectacular React Native application for your business.