How to Transfer Emails from Outlook to Office 365
This article will explain two methods to transfer emails from Outlook to Office 365 account without any hassle. We will try to make a cumbersome method like Network upload quite easy for your understanding and provide an alternate solution for fast and easy transfer of Outlook emails.
Nowadays, many organization is adapting Cloud for better and fast access of data. Most of the organizations are shifting their business over the cloud, so as the desktop-based email client. Due to the similarity between Outlook and Office 365, the organization using MS Outlook started migrating over to Office 365 Online. This increases the high demand to transfer email from Outlook to Office 365 because the new Office 365 users face various challenges during the migration. Read how to convert OST file to office 365 here.
Common Problems During Outlook to Office 365 Migration
While using Network upload, uses get’s the message “the import service has not rolled out for your region yet”
- Corruption issues, due to the large size Outlook data files.
- Migration steps are confusing and complex
- The data transfer process takes longer time
If you have to face the above or similar kind of issues during the data transfer, then this blog will help you do it correctly using multiple methods. Before beginning with the solution, if you don’t know how to create/export the Outlook data file (PST) then see the below method. Know to archive emails in office 365 to PST.
Steps to Create Outlook Data File (PST)
If you are transferring emails from Outlook email client to Office 365 Online, then you need to create an Outlook data file, i.e PST for all the employees in your organization. (skip the step, if you already have the PST files)
1. Open your MS Outlook App on your machine
2. Go to the File tab, then go to Open and then “Import/Export”

3. Now, choose the “Export to a file” option from the list and click Next.
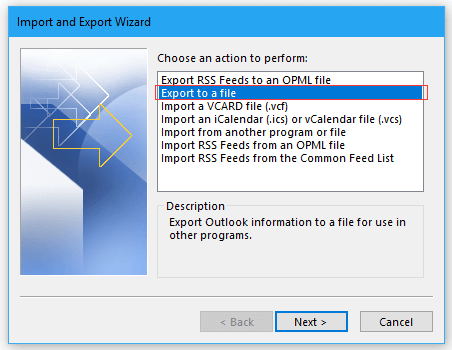
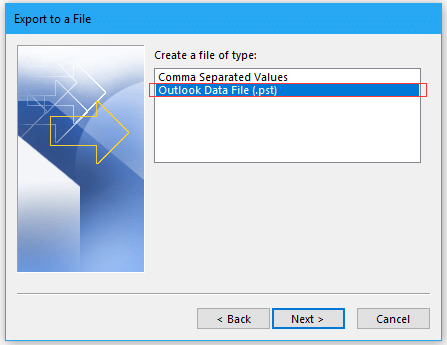
4. From export to a file window, choose the “Outlook data file (.pst)” option and click Next.
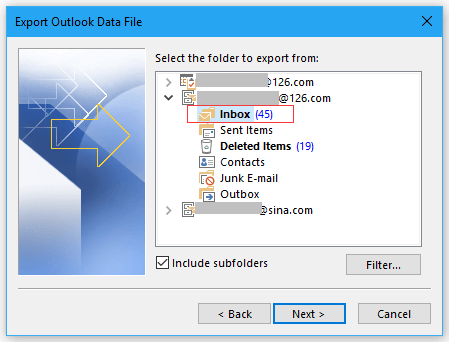
5. Now, choose the Outlook account which you want to export >> Next
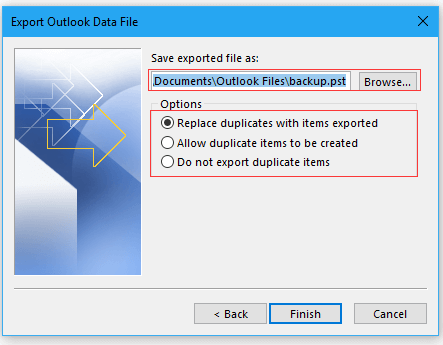
6. Choose the destination where you wish to save the file and click on Finish.
Now, if you wish to transfer multiple user emails into Office 365 from Outlook, then perform the above steps for all user accounts.
Network Upload To Transfer Emails from Outlook to Office 365
Below are the key points you should remember during the migration of Outlook data into Office 365.
- Download the latest version of the Azure AzCopy tool from the Microsoft website only.
- Save the SAS URL carefully during the import process
- Maintain the PST files name similar to its destination account
- Create a CSV file and upload while creating a PST import job
- Filter the data from PST file (if necessary)
- Start the PST Import Job.
Note: There are some limitations to this method, such as The Import service of Office 365 is currently available in limited countries. If import service is not available in your country yet, then it’s not possible to use the Network Upload method.
Don’t worry if you are not comfortable, facing problems with Network Upload then we have two solutions for you.
Method #1: Transfer Bulk Users From Outlook to Office 365 Using Professional Tool
The best alternative of the Network upload method to transfer emails from Outlook to Office 365 is by taking the help of the automated solution. The professional automated solution like SysTools Office 365 Import Tool helps you to perform the migration task quite easily and accurately and also to import PST to office 365. User-friendly interface and multiple features make the complex migration simple. You can first try the demo version of the tool to transfer the first 25 items per folder from the Outlook data file for free.
Prominent Features Provided by Tools
- Transfer Outlook data file into multiple users accounts simultaneously
- The import process is available for all countries without limitations
- Doesn’t pose any limitations on the size of Outlook data file
- Transfer data into Office 365 shared mailboxes
- Admin and User login option for easy access
- much more…
Simple Steps to Transfer Outlook Data File to Office 365
1. Download and Launch the Office 365 Import tool
2. Choose the Login option: Admin or User
3. Select the option to import Outlook data file: Add File(s) / Folder
4. Create CSV file for mapping of data file and account (click on sample CSV)
5. Choose the Category of data to transfer and click Start.
Note: Professional tools are the faster and safest solution for the data transfer process. But, if you have a large amount of time and don’t wanna spend a penny, try method 2.
Method #2: Migrate Single User At a Time Using MS Outlook App
Now, if you don’t wanna spend money on the data transfer and have a lot of time, then you can use the Outlook app for the task. This method is quite simple also but can take a lot of time to even transfer single user account data.
Steps to Transfer Emails from Outlook to Office 365
1. After creating an Outlook data file from using MS Outlook, Open the Outlook App again.
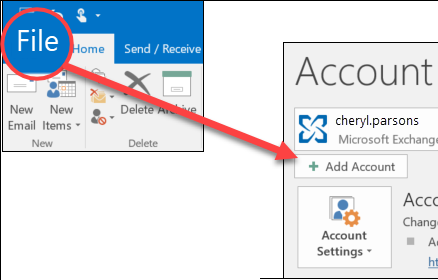
2. Go to File and click on Add Account option and enter details of the Office 365 user account.
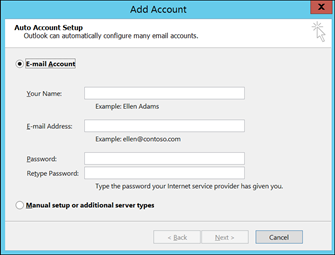
Important Note: If the Office 365 account already contains data then Outlook will take some time to configure emails. Wait till the configuration is completed and then proceed with further steps.
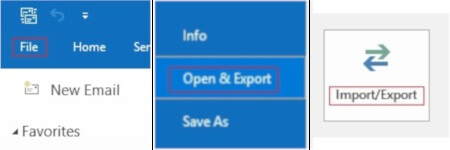
3. Now, Go to File again, then Open and Import/Export option.
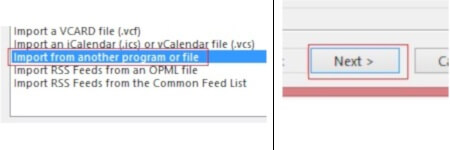
4. Choose “Import from another program or file” option and click Next.
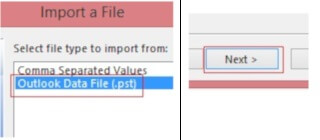
5. From the next window, select “Outlook data file (.pst)” option and Next
6. Browse the Outlook data file for the configured account
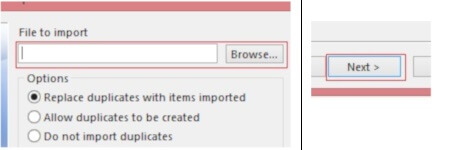
7. Choose the destination folder in Office 365 account where you wish to transfer emails
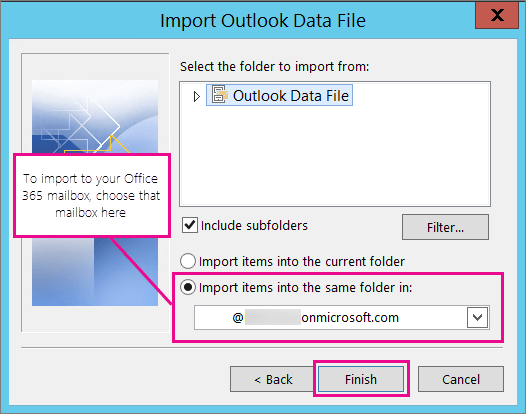
8. Click on the Finish button to start the data transfer process.
Note: Perform all the above 8 steps for all user account data which you wish to transfer. This method is best suitable for transferring single or few user account data, as configuration and import process can take large time.
Conclusion
In this article, we have explained important steps of Network upload to transfer emails from Outlook to Office 365 and the two best alternatives of it also. In case, you find trouble while using the manual method, then it is recommended to use a professional tool for fast and accurate data transfer.