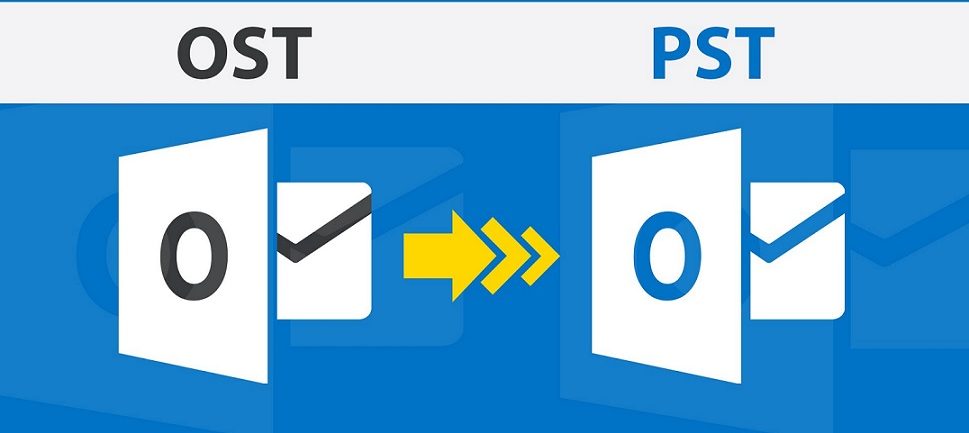
Do you want to import Outlook OST file into Office 365 account? Then, you are landed at the correct place as we have come up with an effective solution to export OST file to Exchange online account.
In the present scenario, the large range of users is switching towards Office 365 mail client due to its many advantages. One of the most interesting features due to which everyone wants to use it is cloud platform support. Thus, multiple users prefer to use Office 365 suite in order to access data from anywhere at anytime. However, among all other applications, Outlook is the most popular desktop-based email client that saves each item like emails, calendars, contacts, appointments in a storage file. Further, it uses PST as well as OST file format for storing data. But there are some problems associated with an OST format, for example, it could only be accessed within MS Outlook application. Due to which all users prefer to convert OST files into Office 365 for getting the better results and avail all benefits of web-based application i.e. Office 365 account. Therefore, in the upcoming section, we are going to discuss a manual approach to let users understand “How to import OST file to Exchange online Office 365 platform” without any risk or data loss.
Methods to Import OST to Office 365 Account
There is no direct solution available by which a user can move OST file to Office 365 account. First, one needs to export OST emails to PST format and then, migrate PST to O365 mailbox.
Step 1: Migrate OST File to PST format
There are so many strategies available that users can use to import OST file to PST format. All such methods are categorized into four different ways:
1. Make a New PST and copy OST files in it
2. Use Archive option of Outlook application
3. Use Export option of Microsoft Outlook
-
Create New PST File & move OST data items
-
First, launch the Microsoft Outlook
-
After that, create a new PST within MS Outlook
-
Now, you can copy data from the particular mailbox folder and paste it into .pst format
-
Use Archive Feature of Outlook application
-
Start MS Outlook, navigate to File tab and choose Archive option
-
Then, select the required file or folder
-
Browse the desired location where you want to store the file and press OK
-
Finally, an archive file is created
Remember: All mailbox items can directly be archived except all Outlook contacts.
3. Use Export feature of Outlook application
-
Launch Outlook application and select the Export option under the File menu
-
Choose Export to a file option and then, click on Next button
-
Now, choose Personal File Folder (PST) option and click on Next
-
Then, select each folder you need to export (Be sure enable the include subfolders checkbox)
-
Provide the storage location where to save the exported file. Click the Finish button to proceed the entire procedure
Remember: This method only works when the users account is connected to MS Exchange Server.
Step 2: Upload PST Files to Office 365 Platform
Once the OST to PST conversion is done, you can upload it to MS Office 365 account in multiple ways:
-
Use Network upload via Azure AzCopy
You can upload PST files into Office 365 account using AzCopy. Here are some steps as follows:
-
Download Azure AzCopy and then, copy the SAS URL. (It means it will provide necessary permission to transfer PST file to Azure)
-
Upload the entire PST files into Office 365 account
-
Now, one can create a new PST mapping file (CSV)
-
Then, create the import job in MS Office 365 for converting PST file
-
At last, filter out the required data and start the PST import job as well
-
Import PST to Office 365 using Drive shipping
Go through the following steps to import PST files into O365 account:
-
Firstly, you just need to copy a PST file to the hard disk
-
You can send that drive to Microsoft successfully
-
When Microsoft receives a flash hard disk, the personal data will get start to upload all received PST files to the cloud
-
Eventually, users can use Import service from MS Office 365 to convert PST files to Office 365 account
An Automated Solution to Export OST to Office 365
As above-stated manual approaches are quite complex and lengthy to execute so, users can go for a reliable third party solution i.e. OST to Office 365 Converter Tool. It is an effortless utility that helps to convert OST file to Office 365 in just a few number of clicks. Transfer outlook emails to office 365 in simple steps. The best part of this software is that one can easily recover and extract multiple items of Offline OST file without any difficulty. The tool provides an easy-to-use interface that even a novice user can also utilize it without taking any expert help.
Conclusion
In the above discussion, we have covered all feasible solutions that will help to perform migration from OST to Office 365 account. Apart from that, if the manual solution gets fail then, the user can use the third party tool i.e., OST to Office 365 Converter Tool as we have already discussed above. With this program, users can easily convert OST files to Office 365 account in a clear manner.


